Hello everybody! This week I’m showing you guys how to make this adorable little DIY box. It’s so cute to store little things and it’s pretty easy to make.
What you’ll need: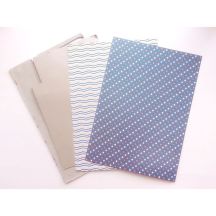
- Thick cardboard
- Thin cardboard
- Two patterns of scrapbook paper
- Masking tape
- Glue
- Stanley knife + cutting mat
- Button + Ribbon
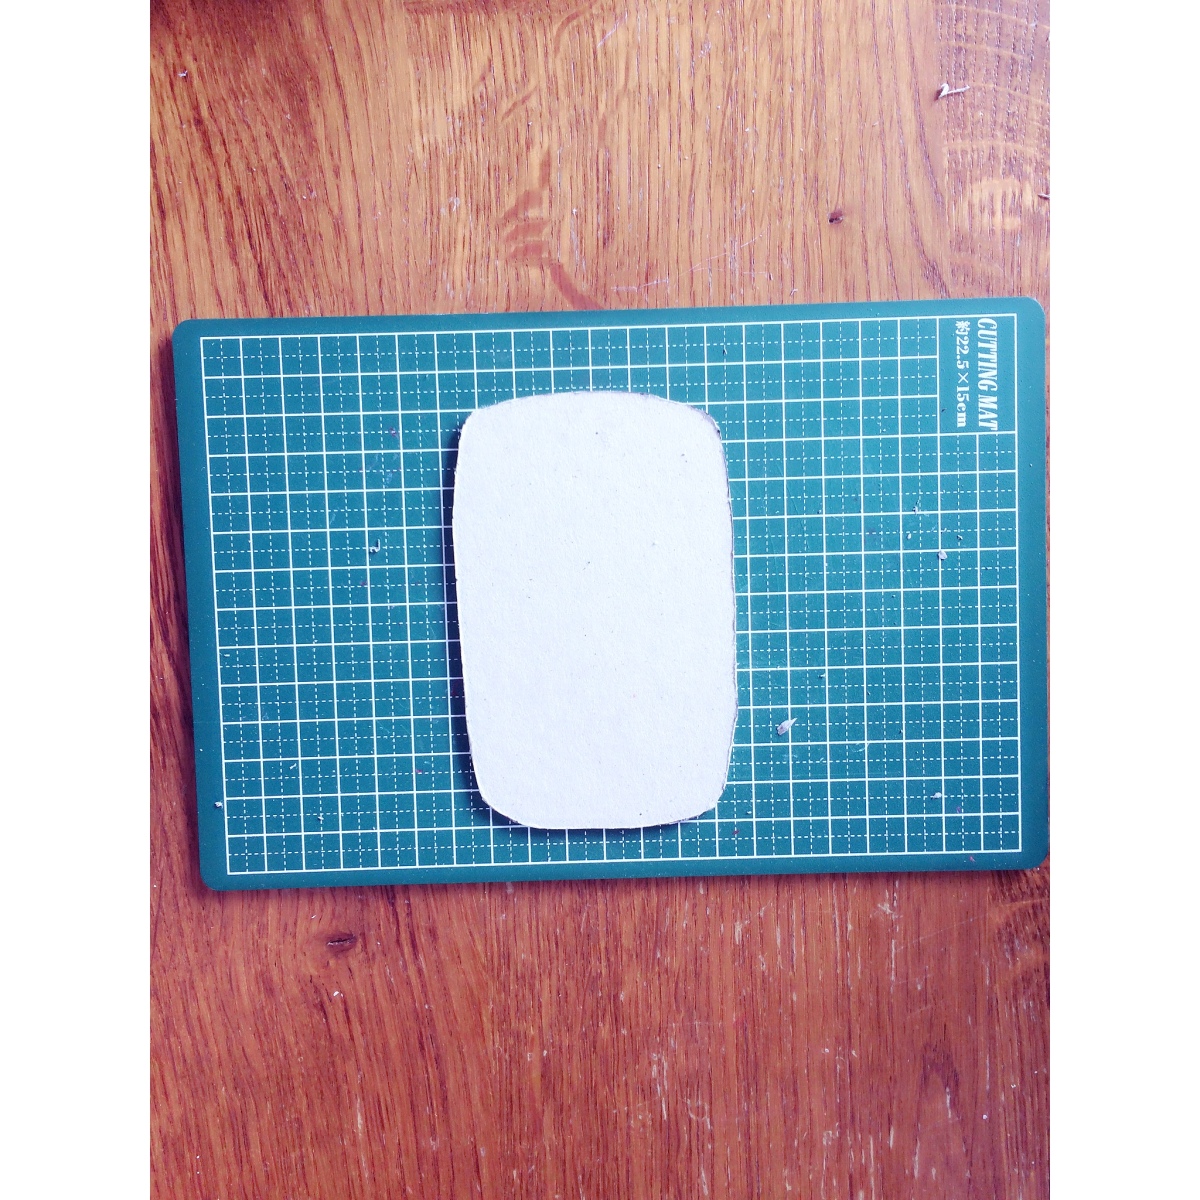
Step 1: Cutting out the base
Start with drawing the outlines of the base onto your thick cardboard. I chose to make my box 11 x 6,5 centimetres. I also decided to give it rounded edges for an extra cute look.
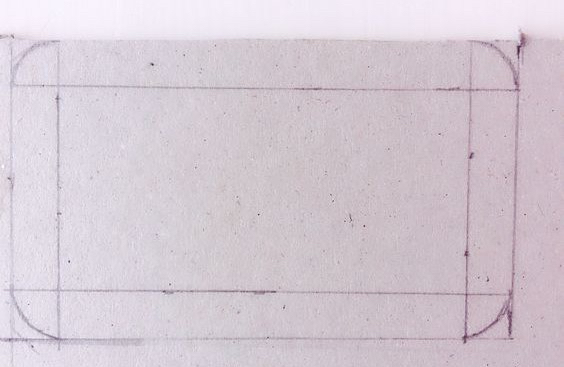
Then, use a Stanley knife and a cutting board to cut out the base.


Step 2: Decorating the base
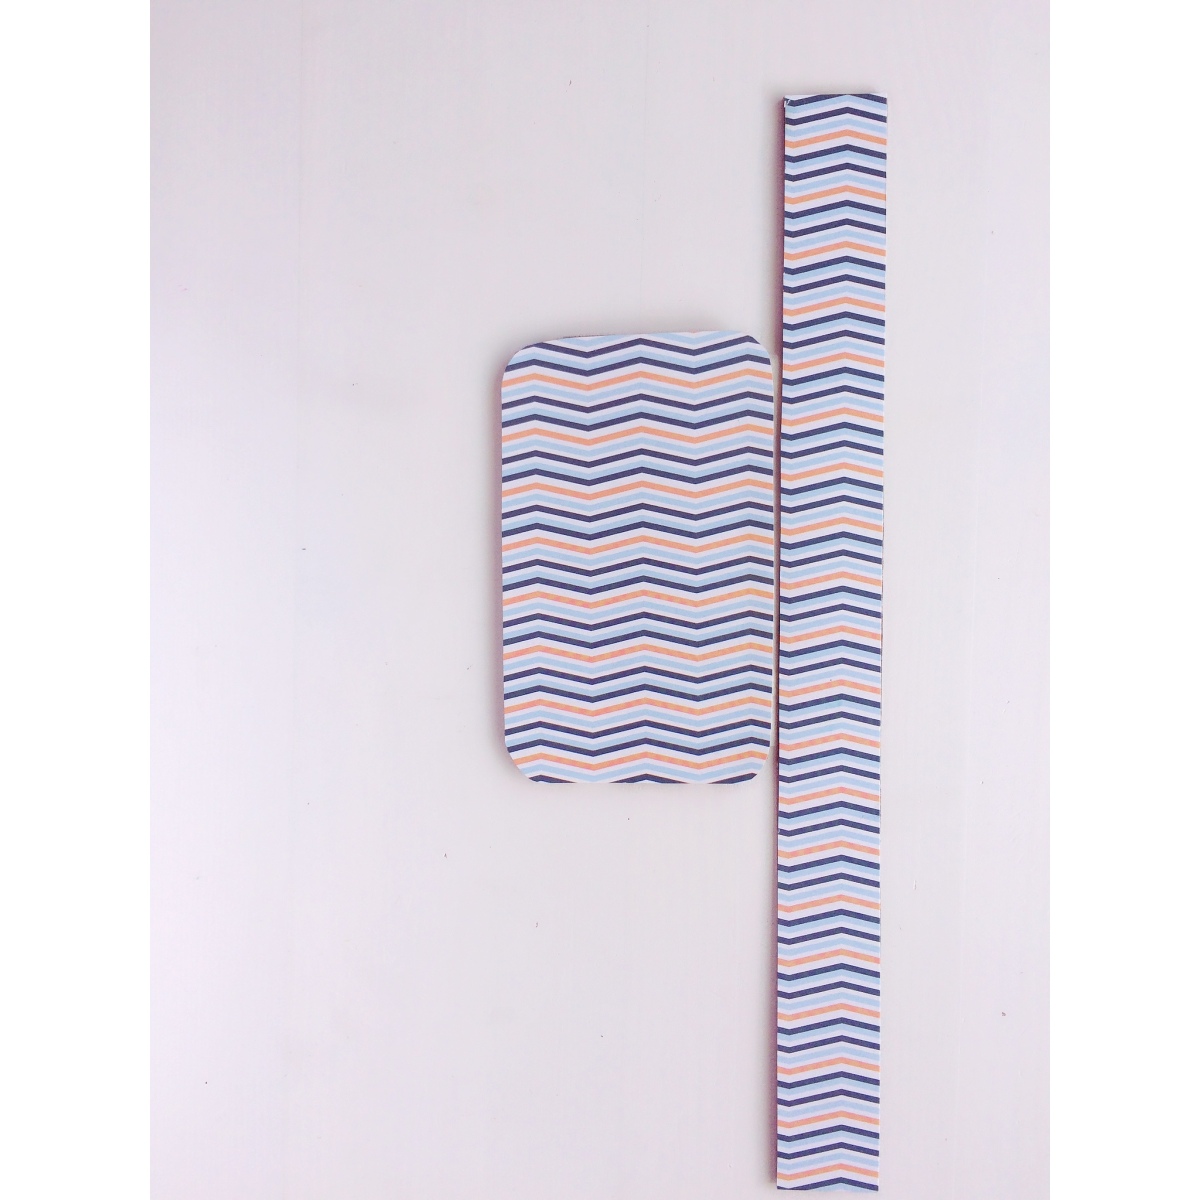
Trace the base onto the scrapbook paper and cut it out. Stick the paper to the base, this will be on the inside of the box.


Step 3: Making the sides of the box
Start with cutting out a strip of thin cardboard with the width of the height of your box. I chose to make my box 2,5 centimetres tall. Then cover the strip with scrapbook paper.


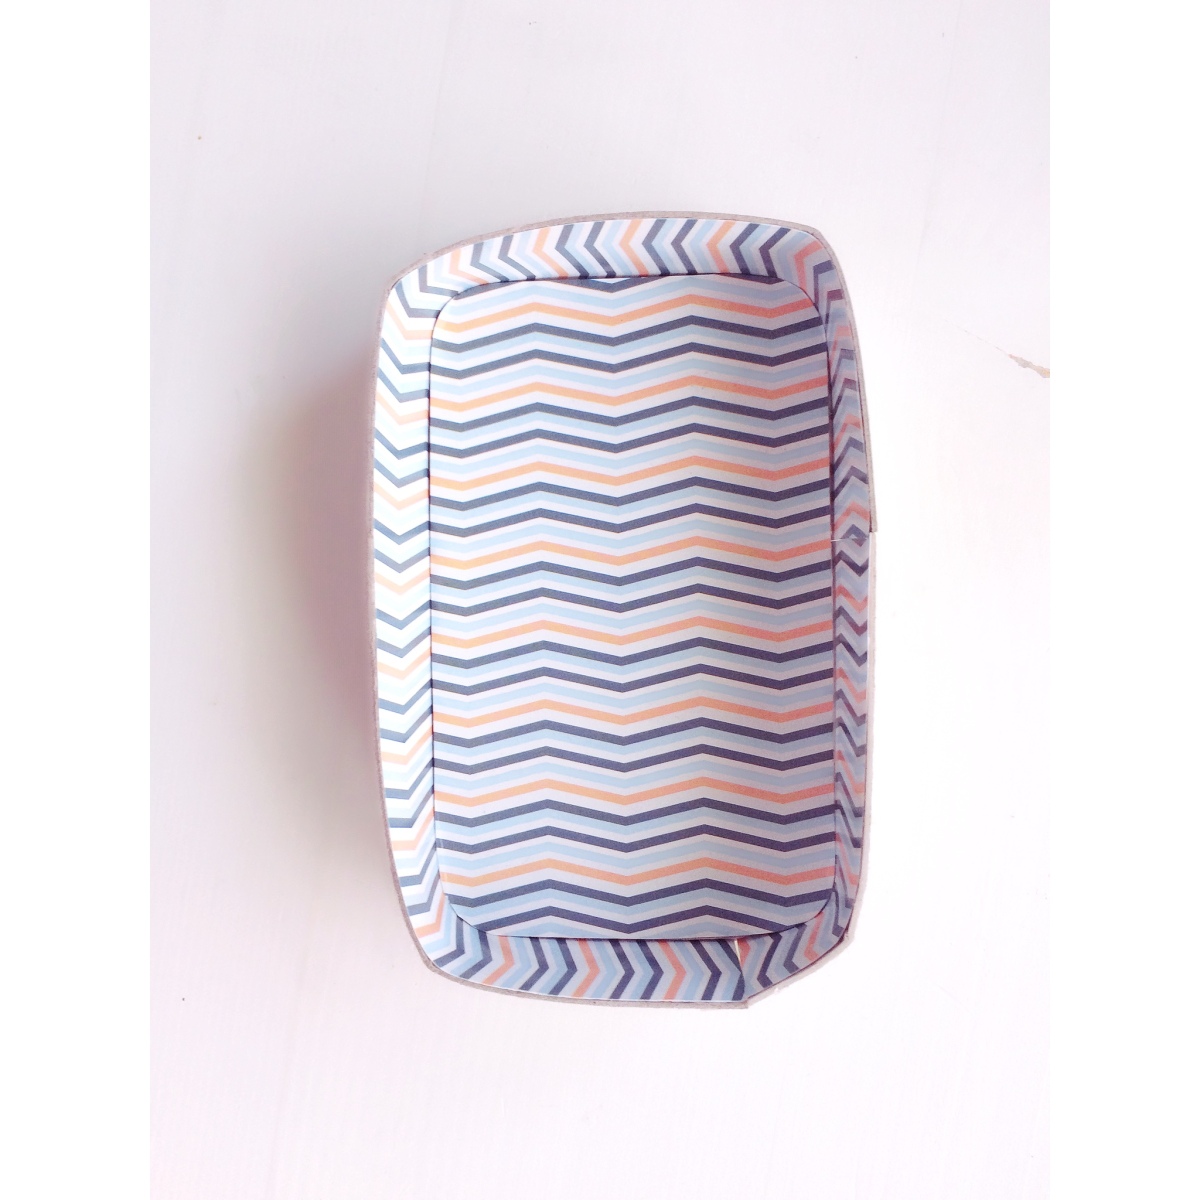
Lay the strip beside your base and use masking tape to stick them together at the back.
Hold the strip upright and fold it around the base, making sure to stick it down firmly with tape.


My strip wasn’t long enough to o all the way around so I cut another piece and stuck them to each other. This is how it should look:
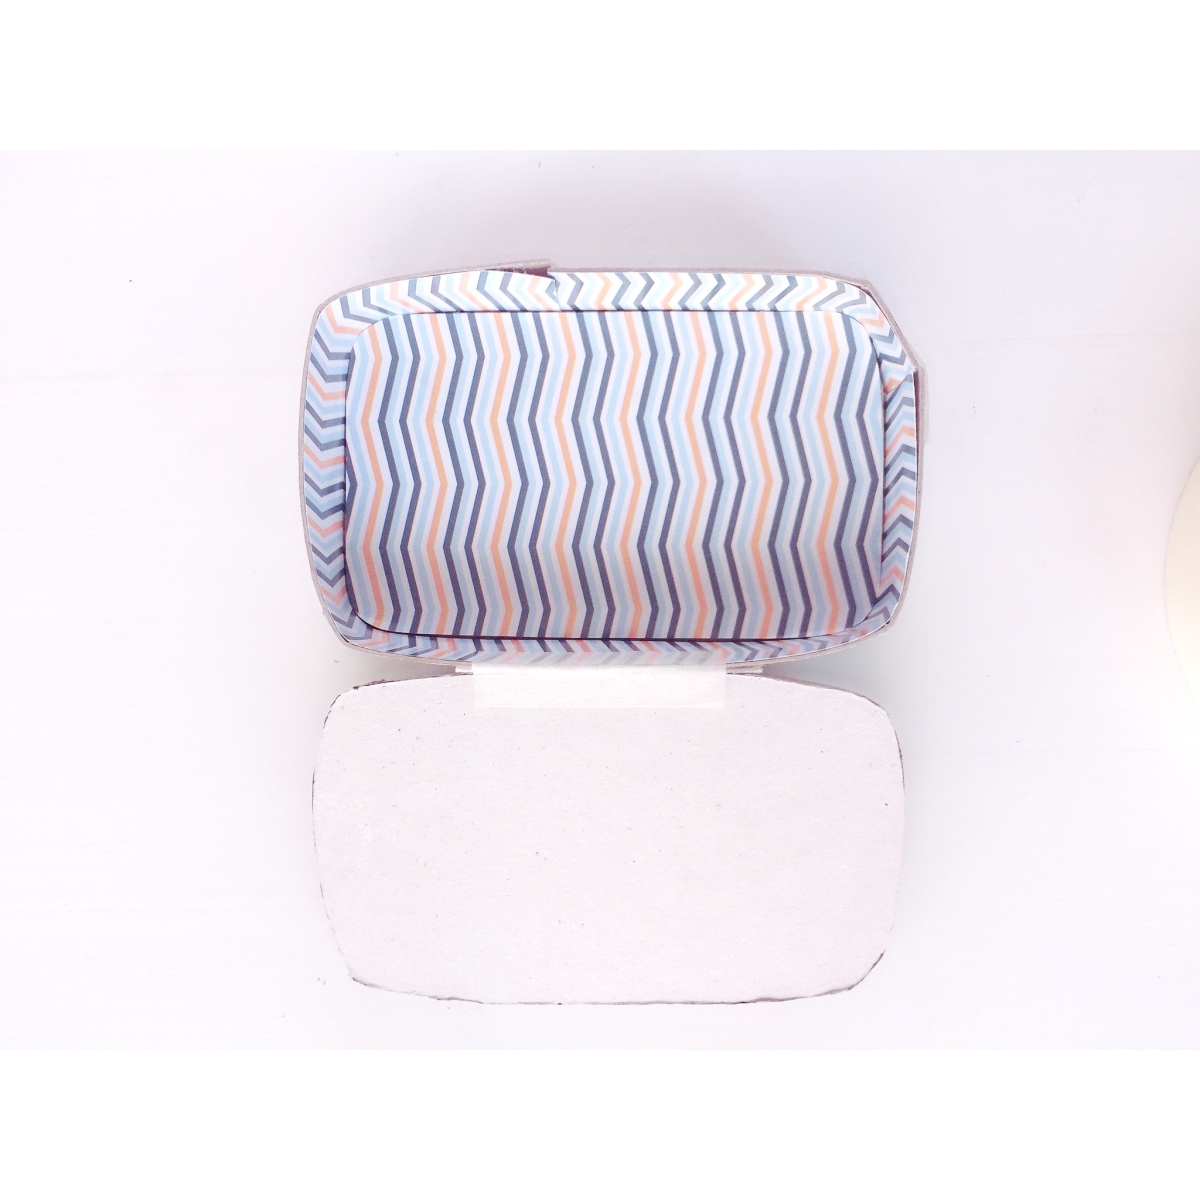
Step 3: Making the lid
Turn the box upside down and trace it onto the thick cardboard. This will make sure the lid fits onto the box. Cut it out using your Stanley knife.
Lay the lid on top of the box and use masking tape to tape one edge to the outside of the box.


I also added a little piece of tape on the inside for extra strength.
Step 4: Covering it up
Start with tracing the lid onto some scrapbook paper and covering both the inside and outside. I decided to use different paper for the outside for a cool look.
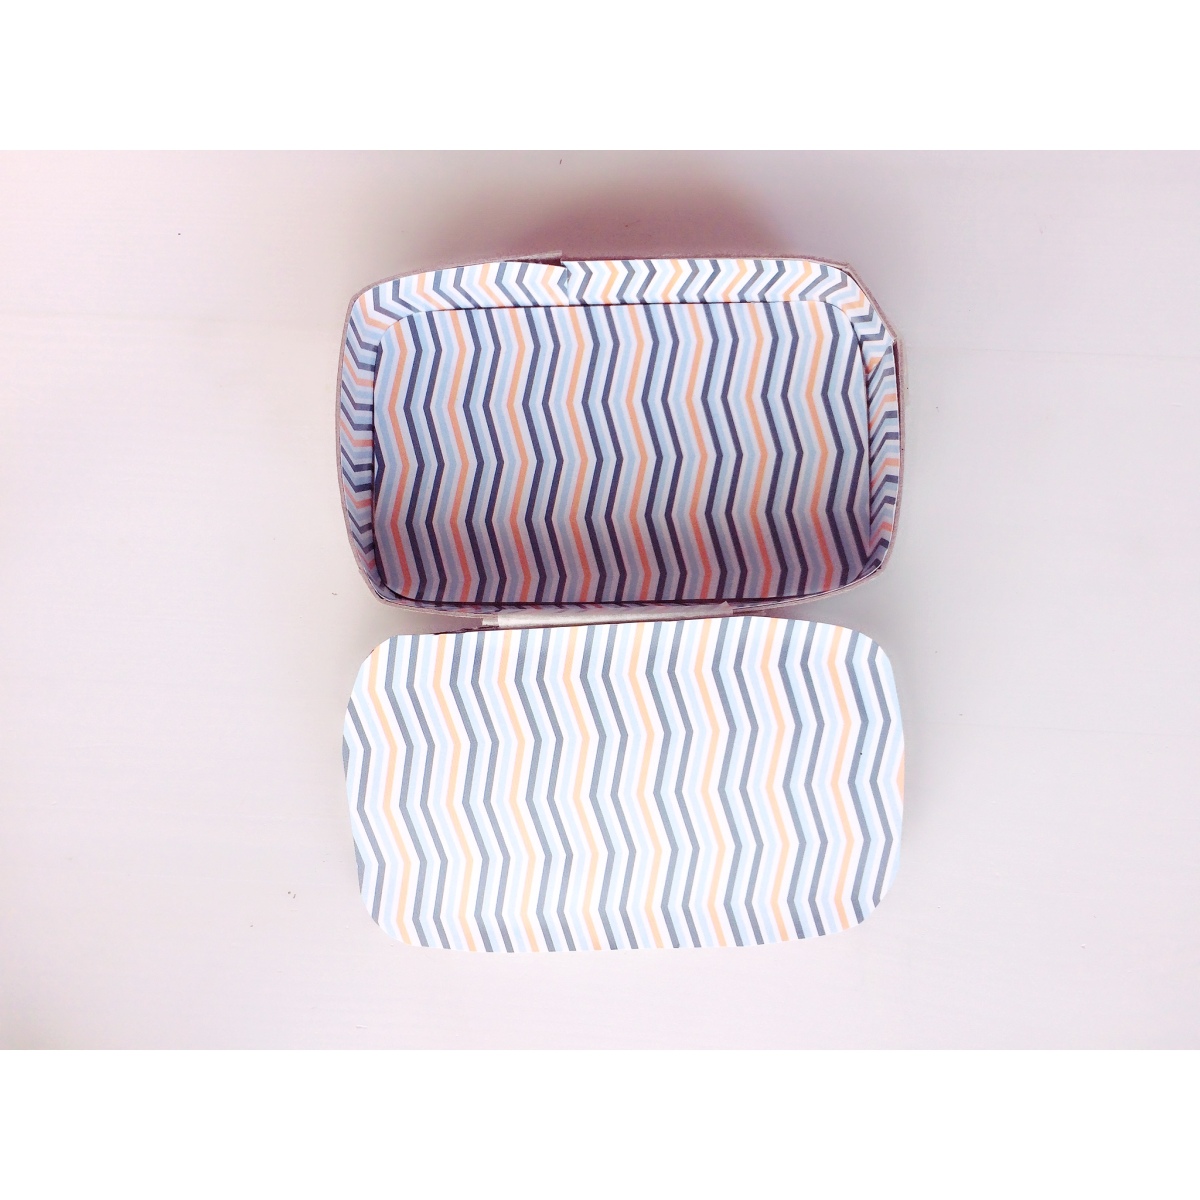
Then I cut a long strip of the other scrapbook paper to cover up the outside of the box.
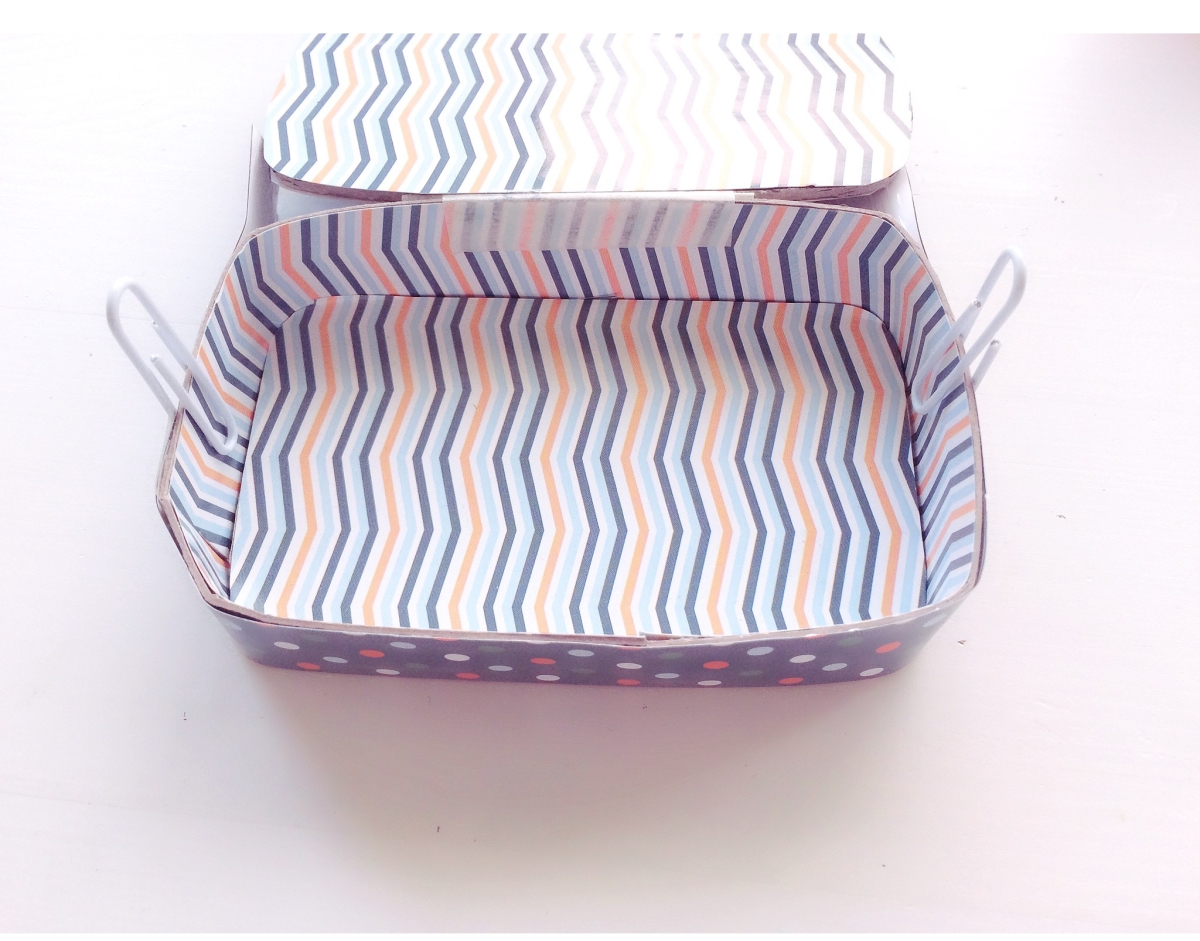
I used paperclips to keep the strip in place while I stuck it down.
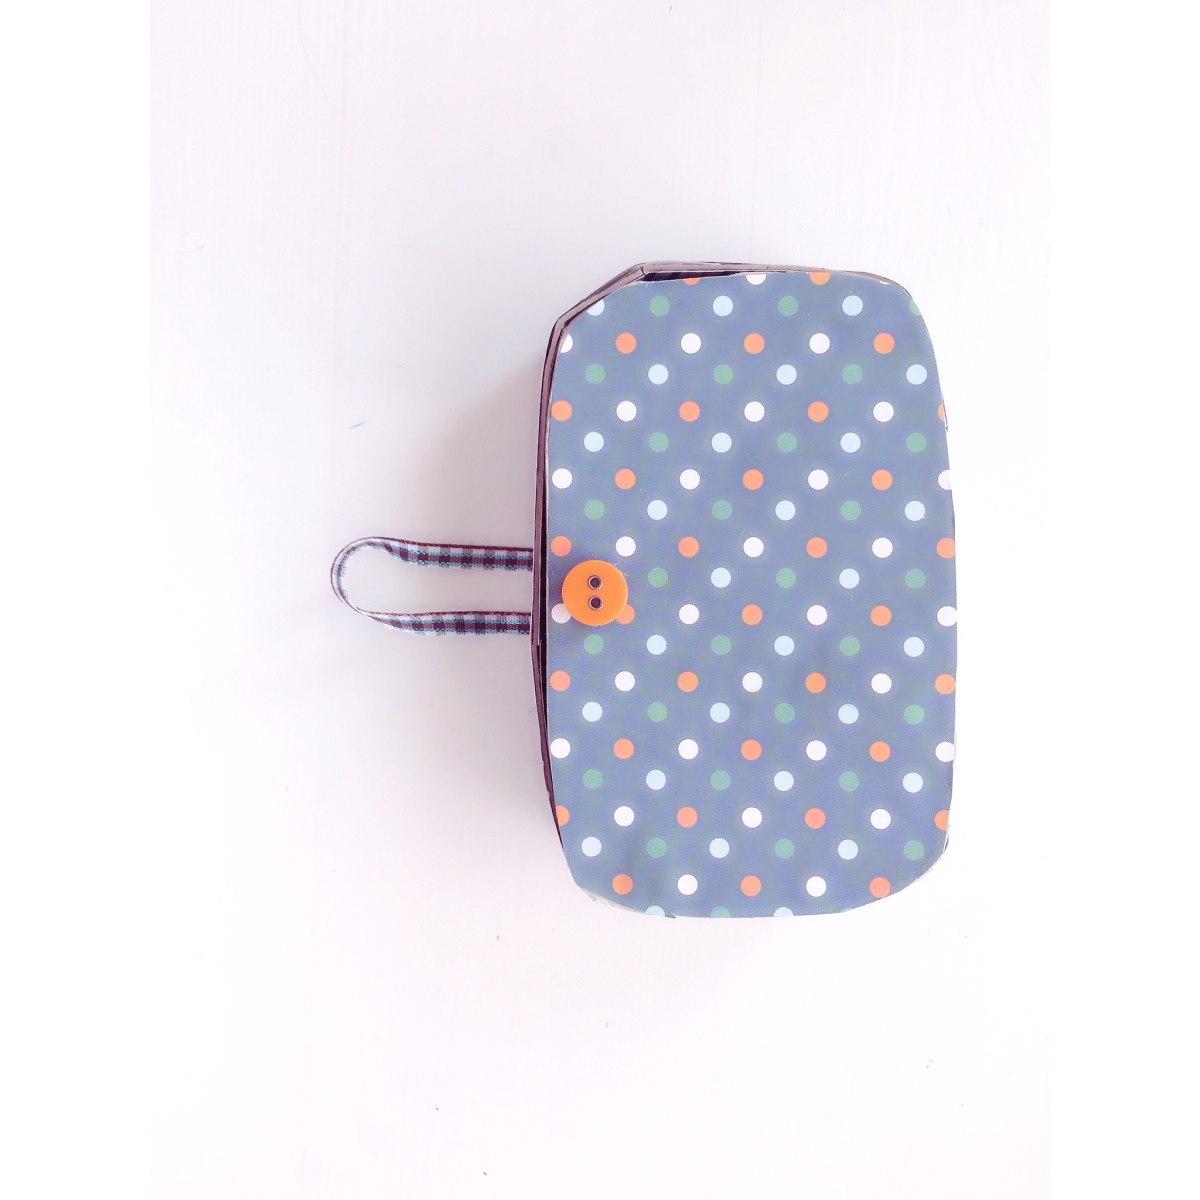
Step 5: Making the button clasp
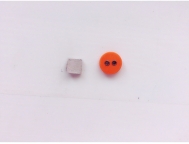
This step is optional, but I think it makes the box a lot cuter. For this step, you’ll need a button and a piece of ribbon. I decided to use an orange button to fit with my scrapbook paper.
Use a small square of thick cardboard to make the button higher so you can easily slip the ribbon around.
Start with sticking the cardboard to the lid and stick the button on top.
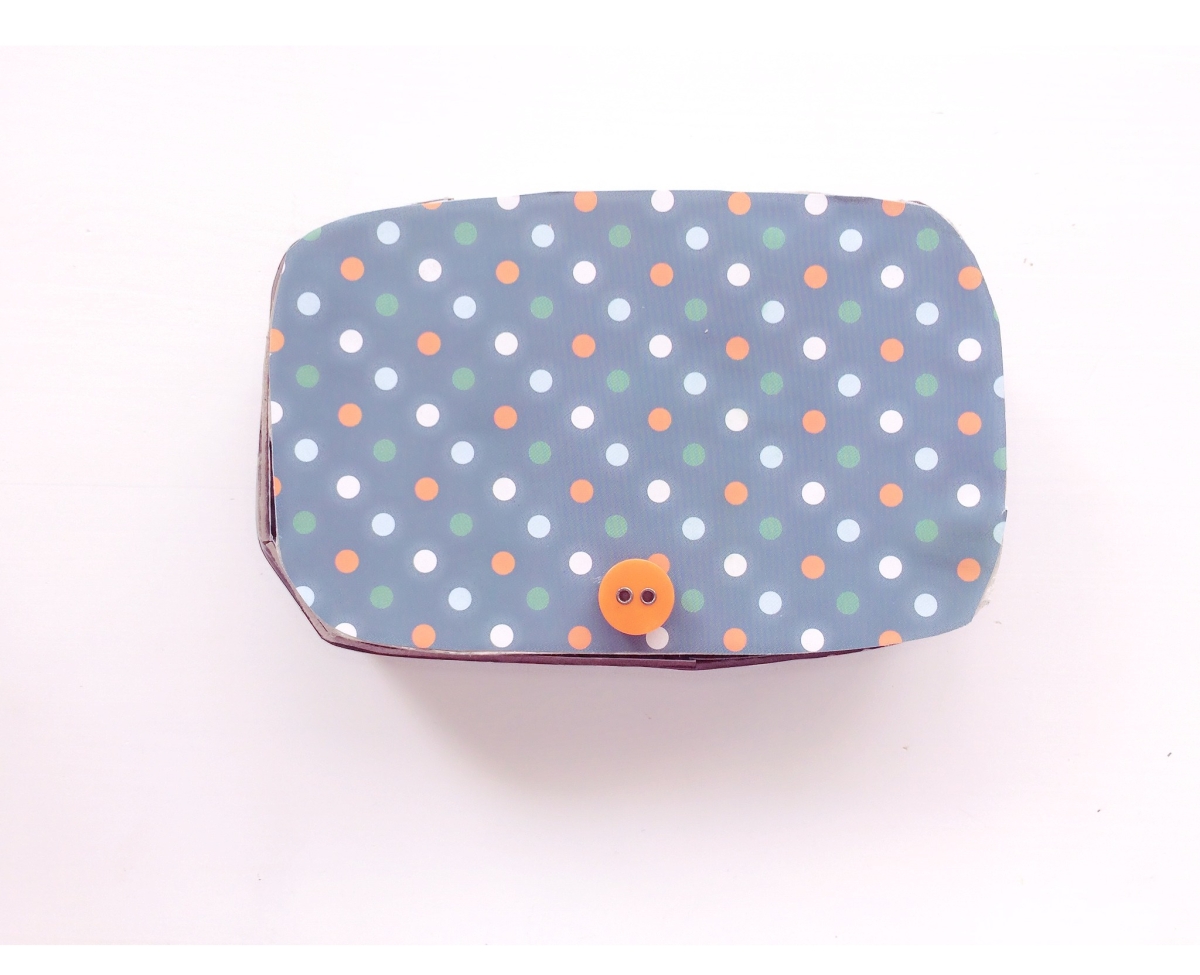
Then put the ribbon around it and stick it to the bottom of the box with tape.
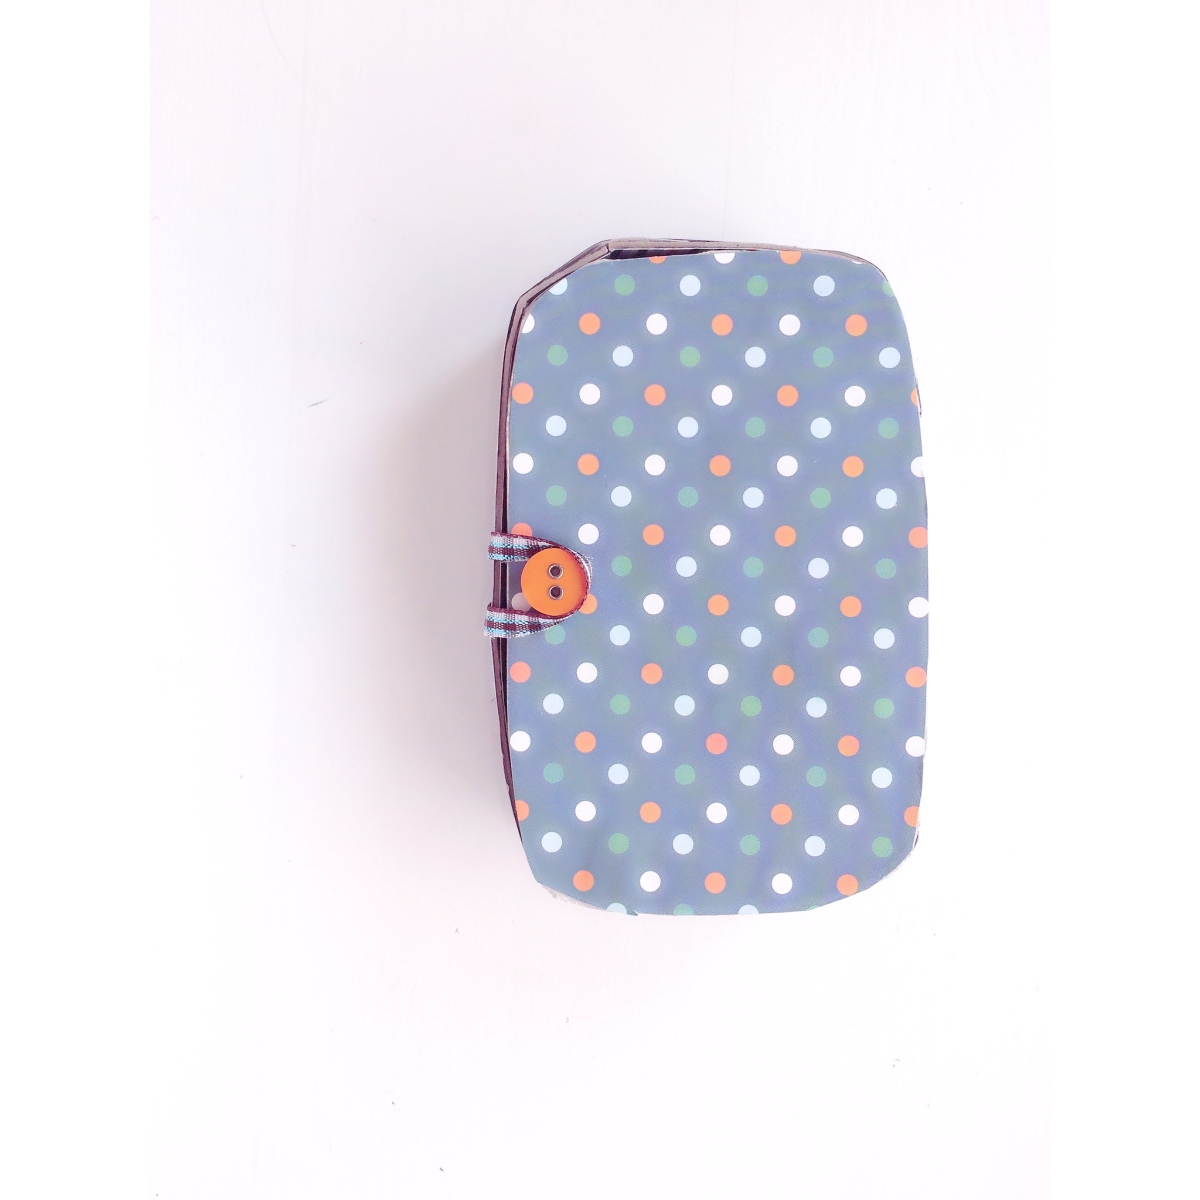
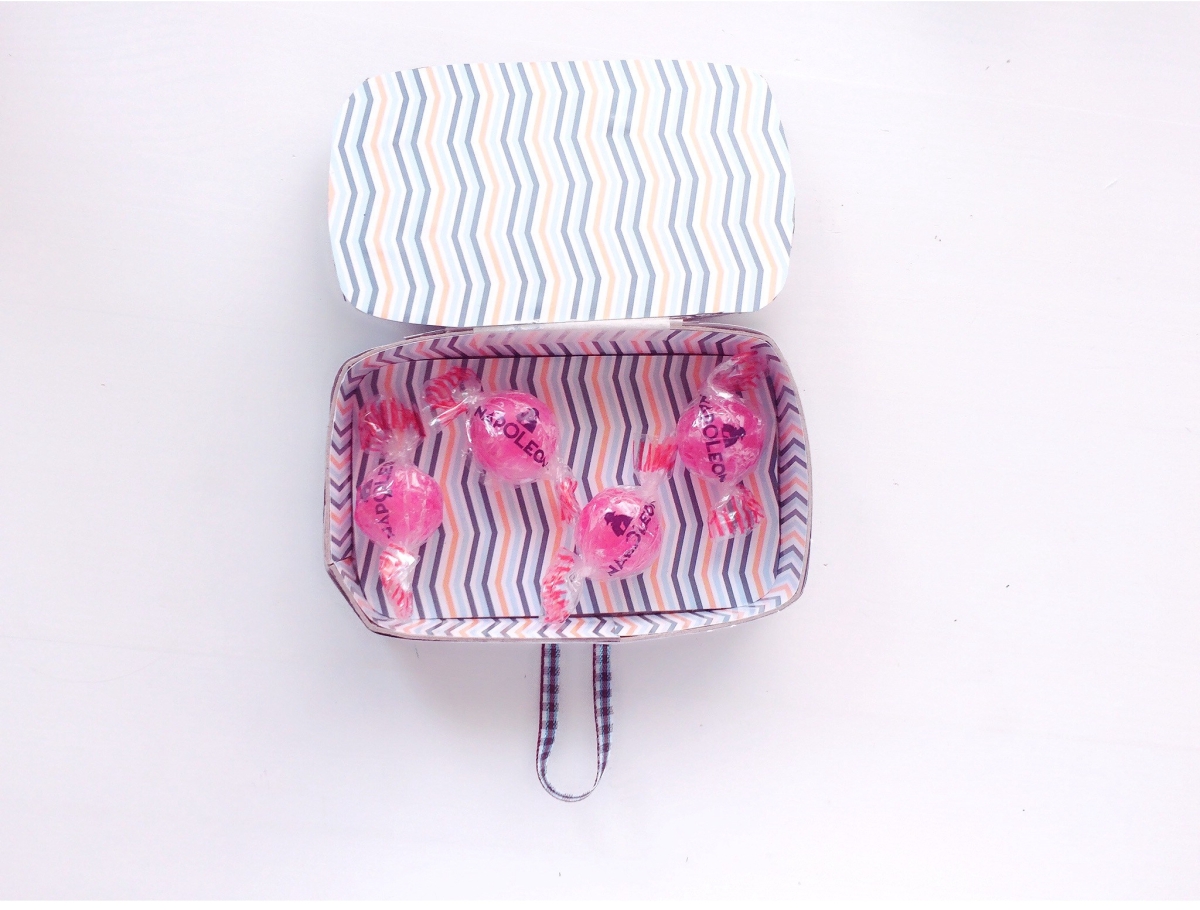
And you’re done! I think this little box looks soo cute! It would also work great as a gift box for small gifts.
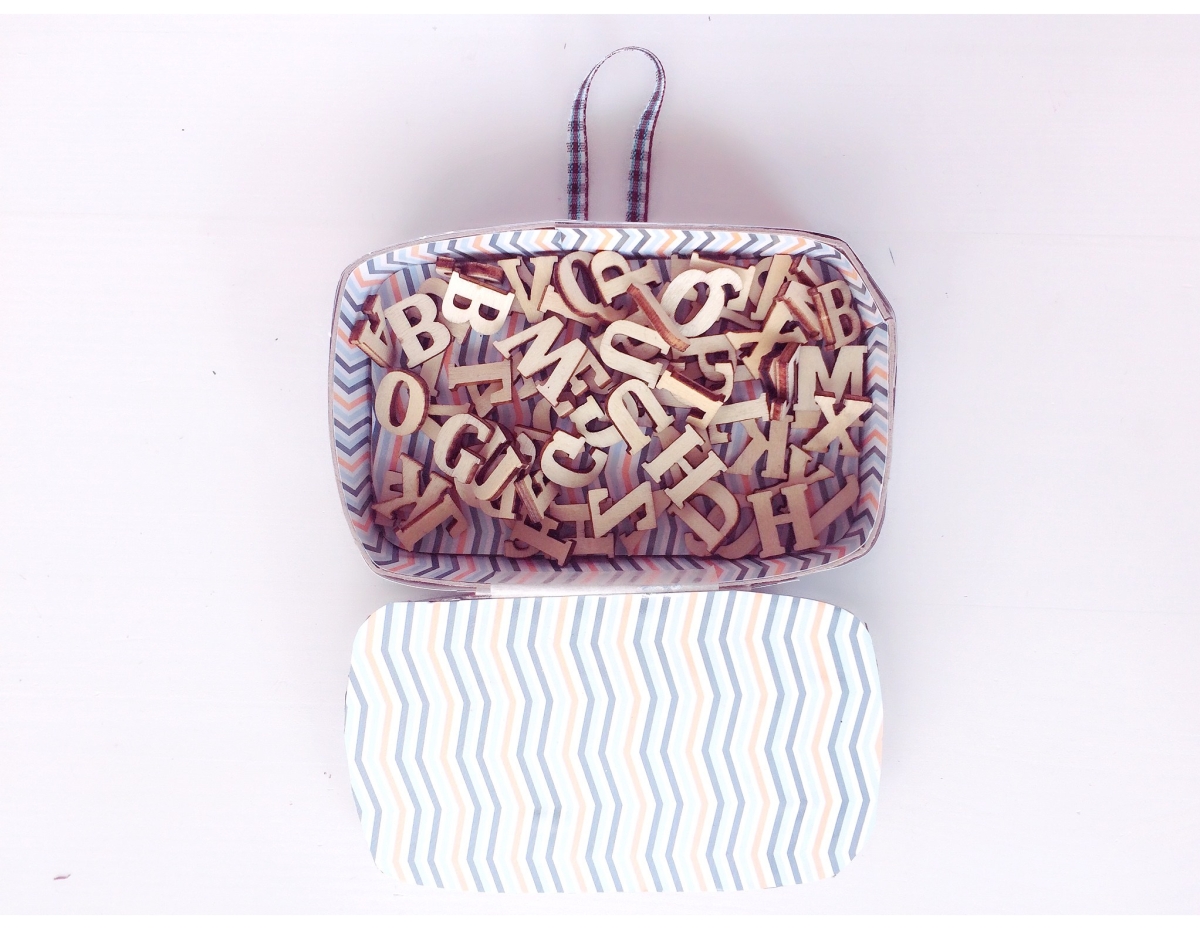
I use it to store these small wooden letters.

Do you like how this looks? What would you use it for?
I hope you enjoyed this tutorial. If you did, please like, comment and/or share. I would really appreciate that. And follow me for more DIYs and creative content!
See ya next week!
xxx, Yara

That’s really cute!
LikeLiked by 1 person
This is so cute!! xx
LikeLiked by 1 person
Thank you!
LikeLiked by 1 person
Love this, so cute 🙂
LikeLiked by 1 person
Thanks!
LikeLiked by 1 person
Oh, my daughter will go nutso over this! I will have to save this for our next girl’s night!
LikeLiked by 1 person
I’m glad you like it!
LikeLike
Aww how cute!
LikeLiked by 1 person
Thanks
LikeLiked by 1 person
Awesome!! THis is such cute box!!!
LikeLiked by 1 person
Thanks!
LikeLiked by 1 person
This is really cute!
~Kaylyn
LikeLiked by 1 person
Thanks!
LikeLiked by 1 person
You’re welcome!
~Kaylyn
LikeLiked by 1 person
This is so cute! I love how well-explained the tutorial is!
LikeLiked by 1 person
Thanks!
LikeLiked by 1 person
I’m also following you! xoxo
LikeLiked by 1 person
Awh thank you! 😊
LikeLiked by 1 person
YW! XOXO
LikeLiked by 1 person