Hey guys,
First things first: I’m so sorry I didn’t post anything last week…😔 there’s just a lot going on in my life at the moment, and I really couldn’t find the time to make a post.
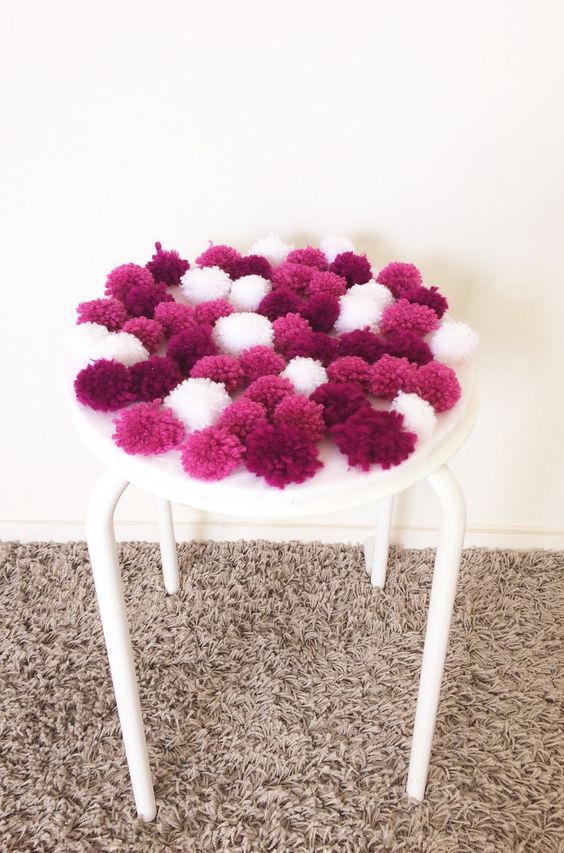
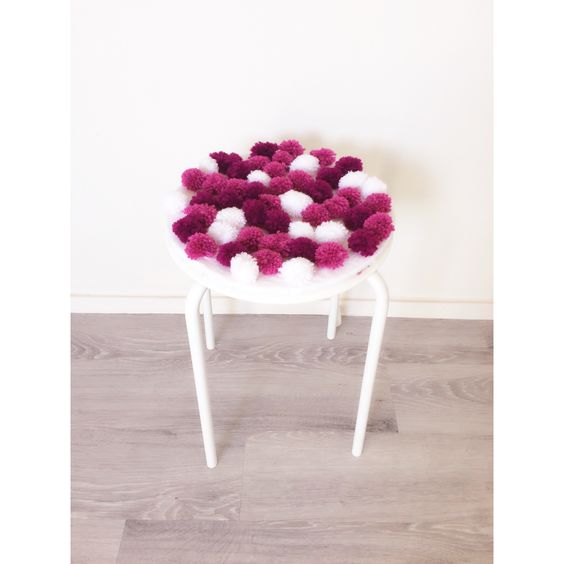
But this week I could, so I’m showing how to make this very cute DIY pompon chair for just a few dollars. Of course, you don’t have to make a stool, you can use this on any surface you want, for example a table, a mat, maybe even a shelf? There are endless possibility’s.
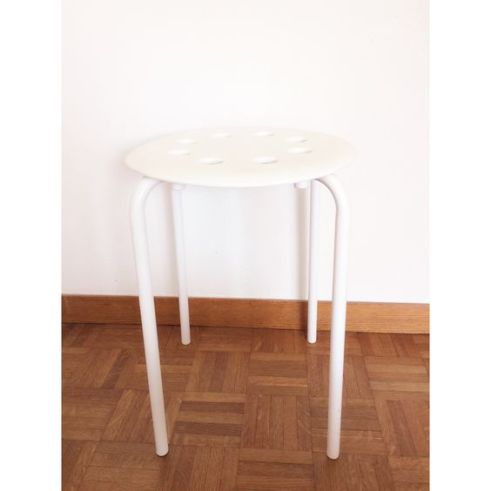
I decided to make this as I didn’t really like the look of the plain white stool in my room. I wanted to make something soft that also looked cool, so I decided to use pompons.
What you’ll need: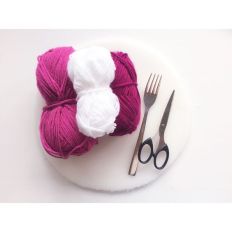
- Wool in a few different colours
- A piece of foam the size of your surface
- Scissors
- A fork
- Needle and thread
Optionally:
- Fabric to cover the foam
Part 1: Making the Pompons
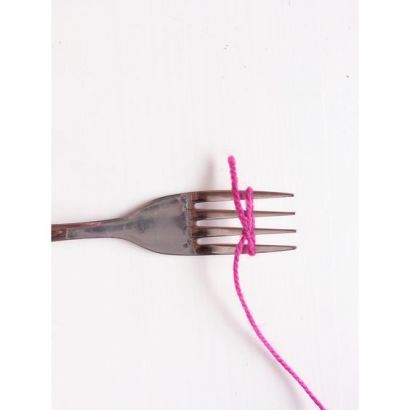
For this step, I tried out a few different techniques, but I found that this one was the easiest. The only thing you need is a fork, which you probably have at home (I hope).
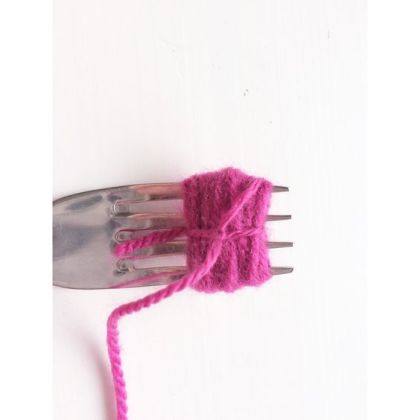
Step 1: Take your wool and tie it to the fork
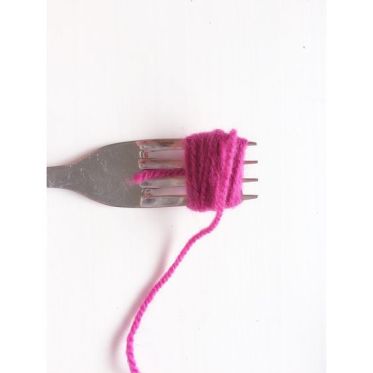
Step 2: wrap the wool around the fork a lot of times.
Step 3: Make a vertical knot between the middel spikes of the fork
Step 4: take the wool of the fork and cut through all the loops like this
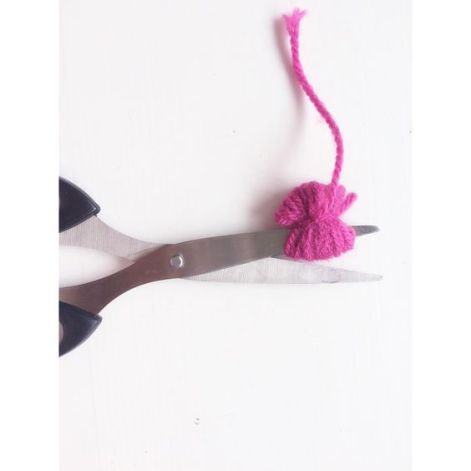
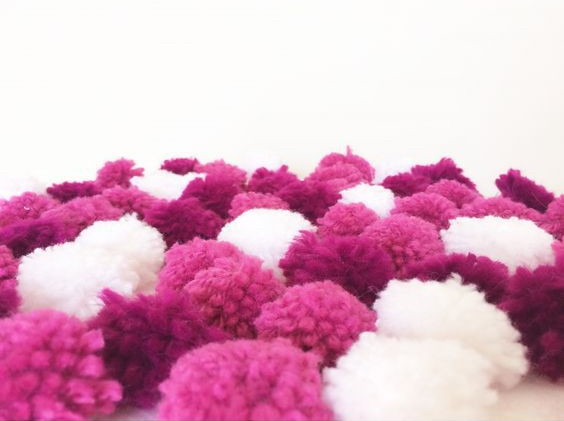
And there you have your pompon:
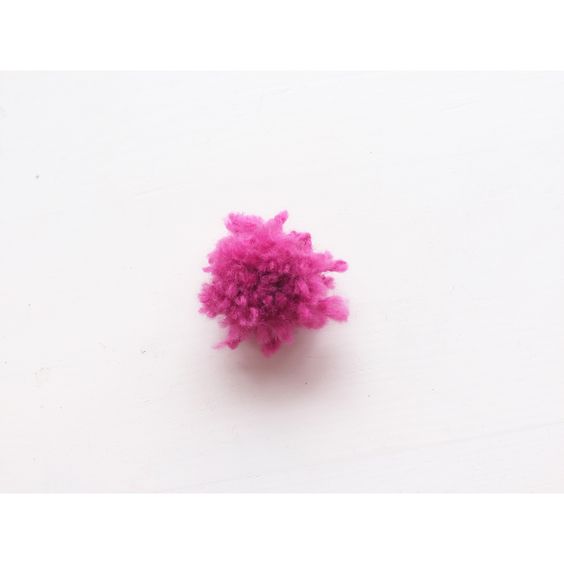
How often you should wrap the wool around the fork depends on the wool you have. For my pink wool of medium thickness I wrapped it around +/- 40 times. My white wool was thinner, so there I had to wrap about 60 times. My purple wool was thick, so 30 wraps was enough there.


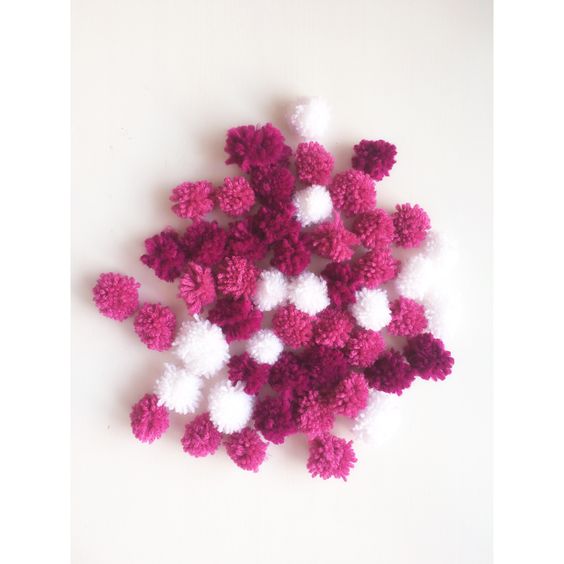
Then, repeat this step lots of times. LOTS of times. To fill up my surface I had to make 50 pompons and it ook me 3 minutes per pompon, so that took a while…
Step 2: making the surface.
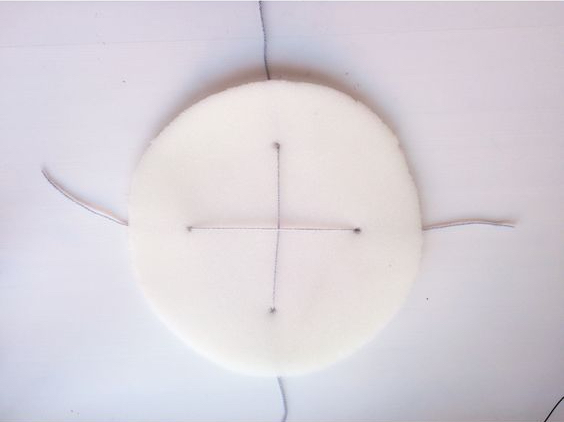
My stool had holes in it, so I marked the places of those holes on the foam and made a hole there with my scissors.
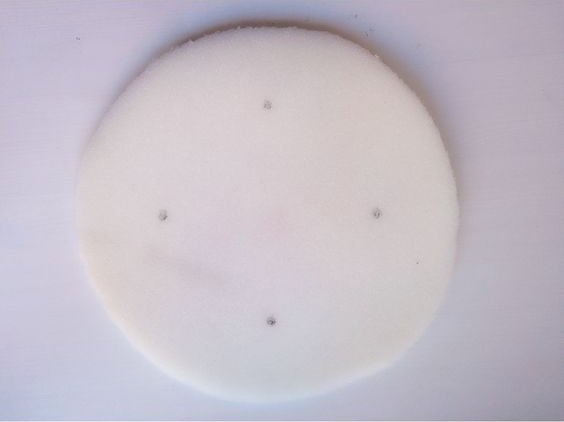
Then, I took some wool and pulled it trough the wool. This is so that I could tie the foam to the stool at the end.
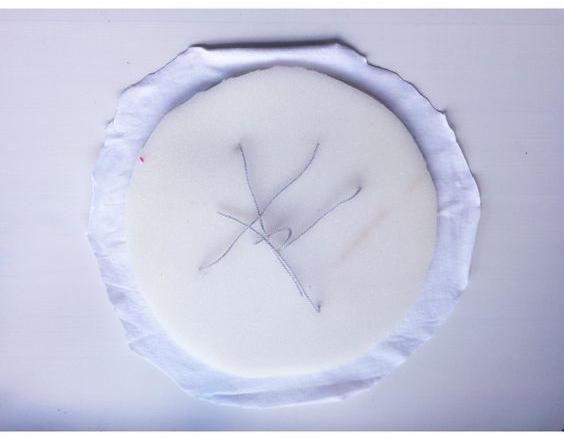
I decided to cover my foam with white fabric from an old T-shirt, so I traced my foam on the fabric, and cut out a few centimeters around it.
Then I laid the foam on top of it.
Sewing the fabric to the foam went surprisingly easy. With a sharp needle you can easily go through the foam.
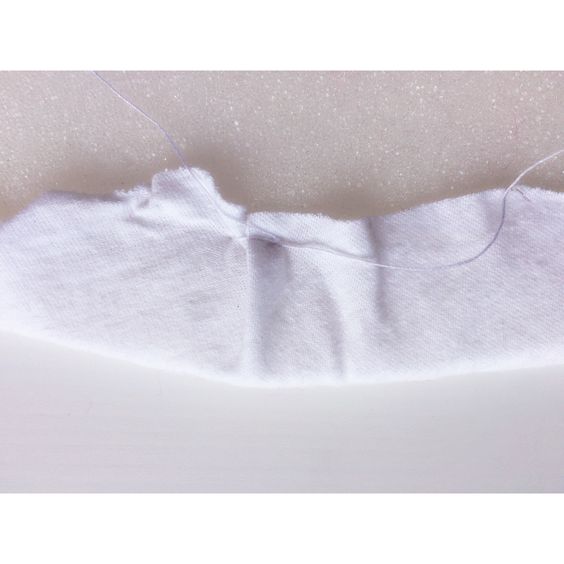
When I had gone all around this it how it looked:


Step 3: Sewing the pompoms to the foam.
This step took a lot of time. I had to sew every single pompom to the fabric. I didn’t want to use glue as I don’t have any fabric glue and with normal glue it would probably just have become a sticky mess… but if you have good fabric glue I would definitely recommend using that.
And that was it!
That was how I turned this…
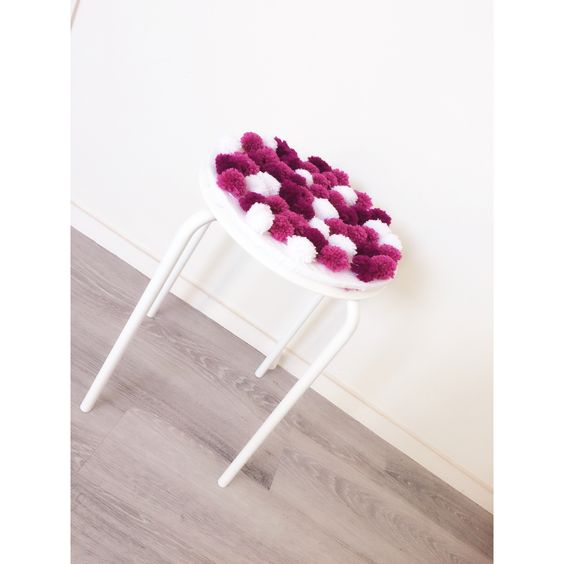
into this:
And the best thing is that you can easily undo the knot at the bottom and remove it if you want to.
I think it turned out really cool, pompons are just so cute and soft..😊
If you liked this tutorial, please like, comment and/or share. It really means a lot to me☺️
See ya next week!
xxx, Yara

very innovative
LikeLiked by 1 person
that looks very cute! I love pompoms too!
LikeLiked by 1 person
Thanks^^
LikeLiked by 1 person
hahhahahah that thing is so adorable! ❤ What a cute transformation! I love fluffy and wooly stuff! Great job!
LikeLiked by 1 person
Thank you^^
LikeLiked by 1 person
Thank you for the follow back! 😀 Another awesomeness has landed!
LikeLiked by 1 person
i love pompoms
LikeLiked by 1 person